The short version
- Leave a long recording as one single file whenever possible. That way, the timestamps run continuously from start to finish.
- Use a stable connection to upload, and do not delete the original audio until you have checked the finished transcript.
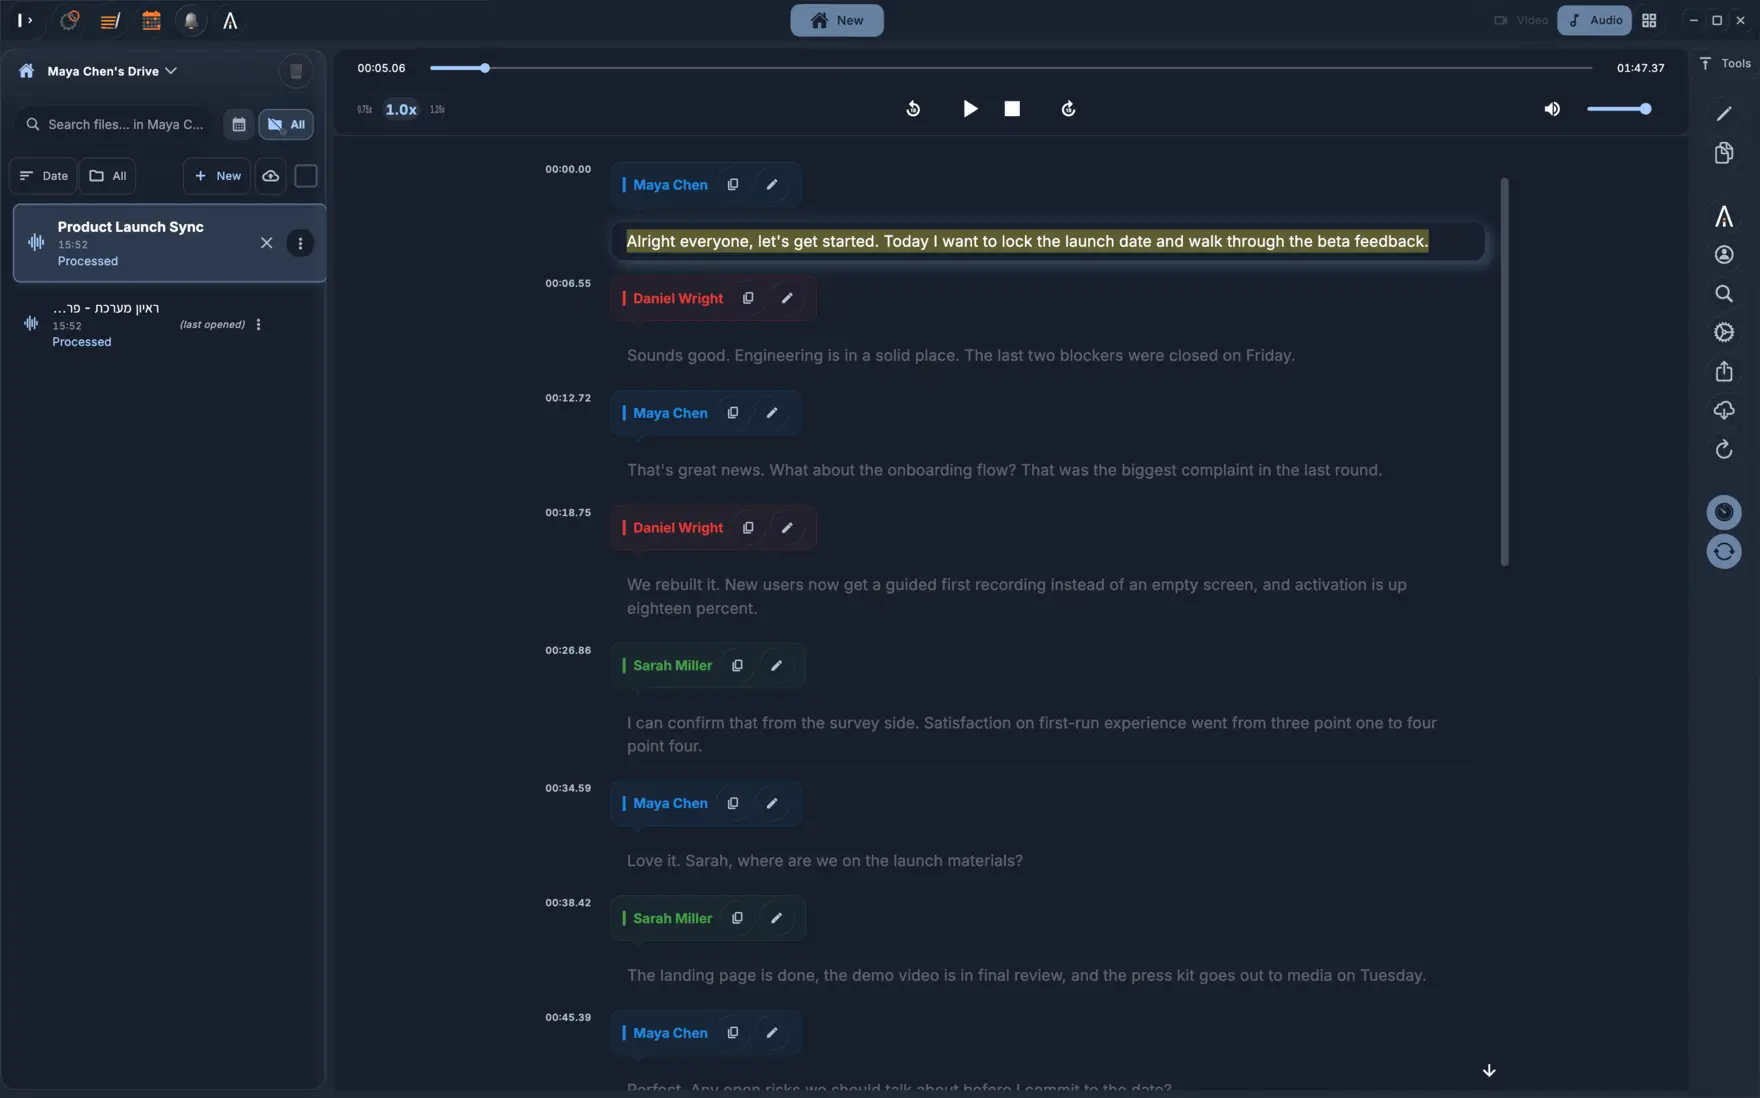
- Skip reading the whole transcript from top to bottom. Search for specific terms and jump straight to the audio at the moments you need.
- Timestamps and speaker labels are what make a long transcript usable. Spot-check them at the start, middle, and end.
- When a recurring name or term is misspelled, fix it once and use search and replace for the rest.
How should you prepare a very long recording?
Start by playing the first minute, a minute from the middle, and the final minute. This quick check catches the failures that hurt most in long sessions: a recording that stopped early, silent stretches from a dead battery, or audio levels that were set far too low. Note anything unusual, such as a scheduled intermission, so you can locate it easily later.
Put the date, the event, and any part number right in the file name. If your recorder broke the session into multiple files on its own, make sure the file names clearly show the order. Keep the untouched originals in their own folder, and make copies if you need to convert the format.
If the session hasn't happened yet, set up your gear for a long haul. Plug the device into power, check that you have plenty of extra storage space, and mute calls and notifications. Pick someone ahead of time to check that the recording is still running at every break. Most lost recordings fail in the first minute or right after a break, rather than in the middle.
Should you split a long recording into parts?
In most cases, no. Keeping one file means your timestamps stay continuous, so something said two hours and ten minutes in shows up at 02:10:00 in the text. Speaker labels also stay more consistent across a single file. Cutting audio up by hand just adds extra work and risks slicing sentences in half.
Only split a file if you have a real reason to. Maybe the upload keeps failing, the file is too big to transfer, or you need to handle certain parts differently, like cutting an intermission or pulling out a section in another language. If you do have to split it, make your cuts during a pause between sentences and number the file names. You can see the current upload limits in the app when you pick a file.
How do you upload a large file without losing it?
Get on a wired connection or strong Wi-Fi, and keep your device from going to sleep while the file transfers. If you are on a phone, leave the app open on screen until the upload finishes. Hold on to the original file on your device or recorder until you have actually opened and checked the transcript. Even an upload that looks finished can fail during final processing.
From a computer, upload through the Mac app or web app. If you recorded on a mobile device, use the iPhone, iPad, or Android app directly. Apple Watch recordings upload straight from the watch. Multi-hour files take longer to process, so start the upload well ahead of your deadline.
How do you review a long transcript efficiently?
Start by checking the beginning, middle, and end. Over several hours, speaker labels and spelling can drift, so a transcript that looks great at minute five might be off by minute ninety. If you catch a wrong speaker label in one spot, check the surrounding lines for the same mistake.
Write down the recurring names, places, and technical terms, and fix them all in one go. Search for the different ways the transcript spelled them out phonetically and replace each one. After that, play the most important parts at a faster speed and only pause when the text doesn't match the audio. Automated transcription makes mistakes, and multi-hour files give it more chances to slip up, so spend your time on the sections where an error would actually cause a problem.
What can you do with the finished transcript?
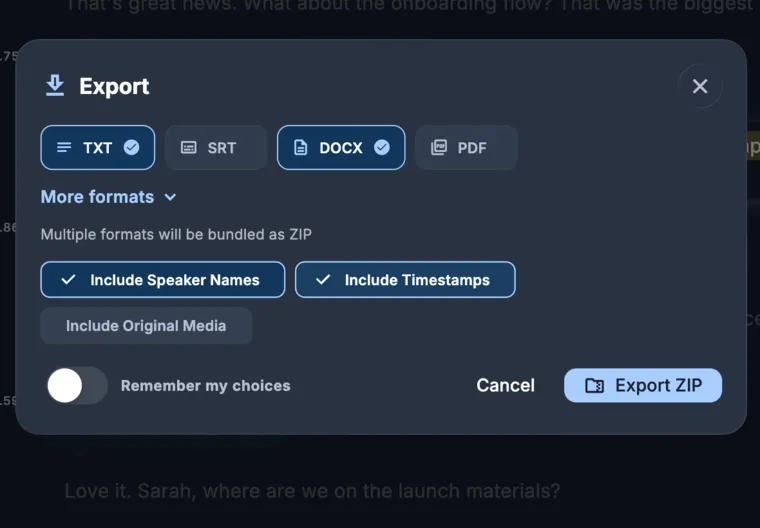
You can export the text as TXT, DOCX, or PDF to read and share, or grab SRT or VTT files for video captions. The AI chat also lets you ask direct questions about the recording, like when a group reached a decision or who brought up a specific issue, and then check the answers against the timestamped text.
With a conference or an all-day meeting, it usually helps to share a short summary alongside the full transcript rather than sending either one by itself. Send the summary out for a quick read, keep the full transcript so people can search it, and hold on to the original audio for your records.
Common questions
How long a recording can I transcribe?
The app shows current upload limits when you select a file. When uploading a very long recording, use a stable connection and keep your original audio file until you have checked the finished transcript.
Do I need to cut a long recording into pieces?
Usually not. Leaving it as one continuous file keeps the timestamps and speaker labels consistent all the way through. Only split the audio if the upload fails or if you need to handle certain parts differently.
How do I find one moment in a three-hour transcript?
Search the text for a word or phrase you remember, then click the timestamp next to it to play the audio from that exact spot.
Will the speaker labels stay correct for hours?
Not always. Check a few spots at the beginning, middle, and end of the transcript, and fix any labels that have drifted.
Is the transcript of a long recording accurate?
Use it as a working draft. Automated transcription makes mistakes, so always check names, numbers, and direct quotes against the audio before you rely on them.