The short version
- A Zoom recording only exists when the host starts recording, or when a participant with the host's permission starts one.
- Local recordings go straight to the computer of the person who recorded. Cloud recordings save to the host's account, where you can download them from the Zoom website.
- Upload either the video file or the audio-only file. Both have the exact same speech.
- No bot joins your call. You upload the recording after the meeting ends and check the transcript yourself.
- Tell participants you are recording the call, and check any policies that apply to you.
Who can record a Zoom meeting?
Meeting hosts can record a call or give recording permission to other participants. Without that permission, participants cannot start a recording, and on most accounts they have to ask the host for access. When a recording starts, Zoom alerts everyone on the call. Companies can also turn recording off across their accounts, so you might not see the option in a work meeting even when you are hosting.
If someone else is hosting a meeting you need recorded, ask them before the call starts instead of bringing it up mid-meeting. If the call already happened and was recorded, ask the host to send you the file or share access to the cloud recording. Recording people without telling them can violate laws or workplace policies that apply to you, so check with your organization or a lawyer if you are not sure.
What is the difference between a local and a cloud recording?
A local recording saves straight to the computer of whoever started recording. Once the call ends, Zoom has to convert that recording into usable files. Wait for the conversion to finish before closing Zoom or shutting down your computer. By default, the files go into a Zoom folder inside your Documents folder, with a separate subfolder for each meeting. You can also find them under the recordings tab in the Zoom desktop app.
If the host's account supports cloud recording, the file is saved to their Zoom account instead. Zoom processes the recording on its servers and sends the host an email when it is ready. From there, you can go to the recordings page on the Zoom website to see and download every file from that meeting. Whether you have cloud recording depends on your account type and your organization's settings.
Which file should you upload?
Once a Zoom recording finishes processing, you usually get a video file and an audio-only file, plus a chat log or text file if those were enabled. You can use either the video or the audio-only file for transcription since both have the same speech. The audio-only file is smaller, so it uploads faster. Pick the video file if you want to share a video clip or need subtitles timed to the picture.
If your Zoom settings allow it, you can record a separate audio track for each participant, which helps when people talk over each other. Because setting names and menus change depending on your Zoom version and account type, look through the recording options in your account settings rather than following a strict menu path. Always hang on to the original files, and do not re-save them in another format.
How do you upload a Zoom recording to KolWrite?
Open KolWrite on the web, on your Mac, or on your phone, add the recording file, and start transcribing. On a computer, you can drag the file into the window or pick it from a folder. On a phone, share the downloaded file straight from the Files app to KolWrite. You do not need a bot in your meeting. Just record in Zoom like you normally do and upload the file after the call.
Long calls mean big files, so upload over a stable internet connection and keep the original recording until you have checked the finished transcript. KolWrite works with Hebrew, Arabic, and over 100 other languages, and it can handle calls where speakers switch between Hebrew and English in the same transcript.
What if the recording is missing, silent, or too large?
When a local recording goes missing, it is usually because Zoom was closed before the file finished converting, the computer ran out of disk space, or the folder was moved. Before giving up on the file, check the default Zoom folder, look at the recordings list in the Zoom app, and run a search on your computer. If you cannot hear one side of the conversation, that person may have been on mute, or the computer doing the recording might not have picked up the other participants' audio clearly.
For a very large file, try uploading the audio-only version instead of the video, or switch to a wired connection or strong Wi-Fi. Do not cut a file in the middle of a sentence just to make it smaller. Before a big meeting, record a quick one-minute test and play it back to make sure your audio and storage are set up right.
How do you check speakers and fix the text?
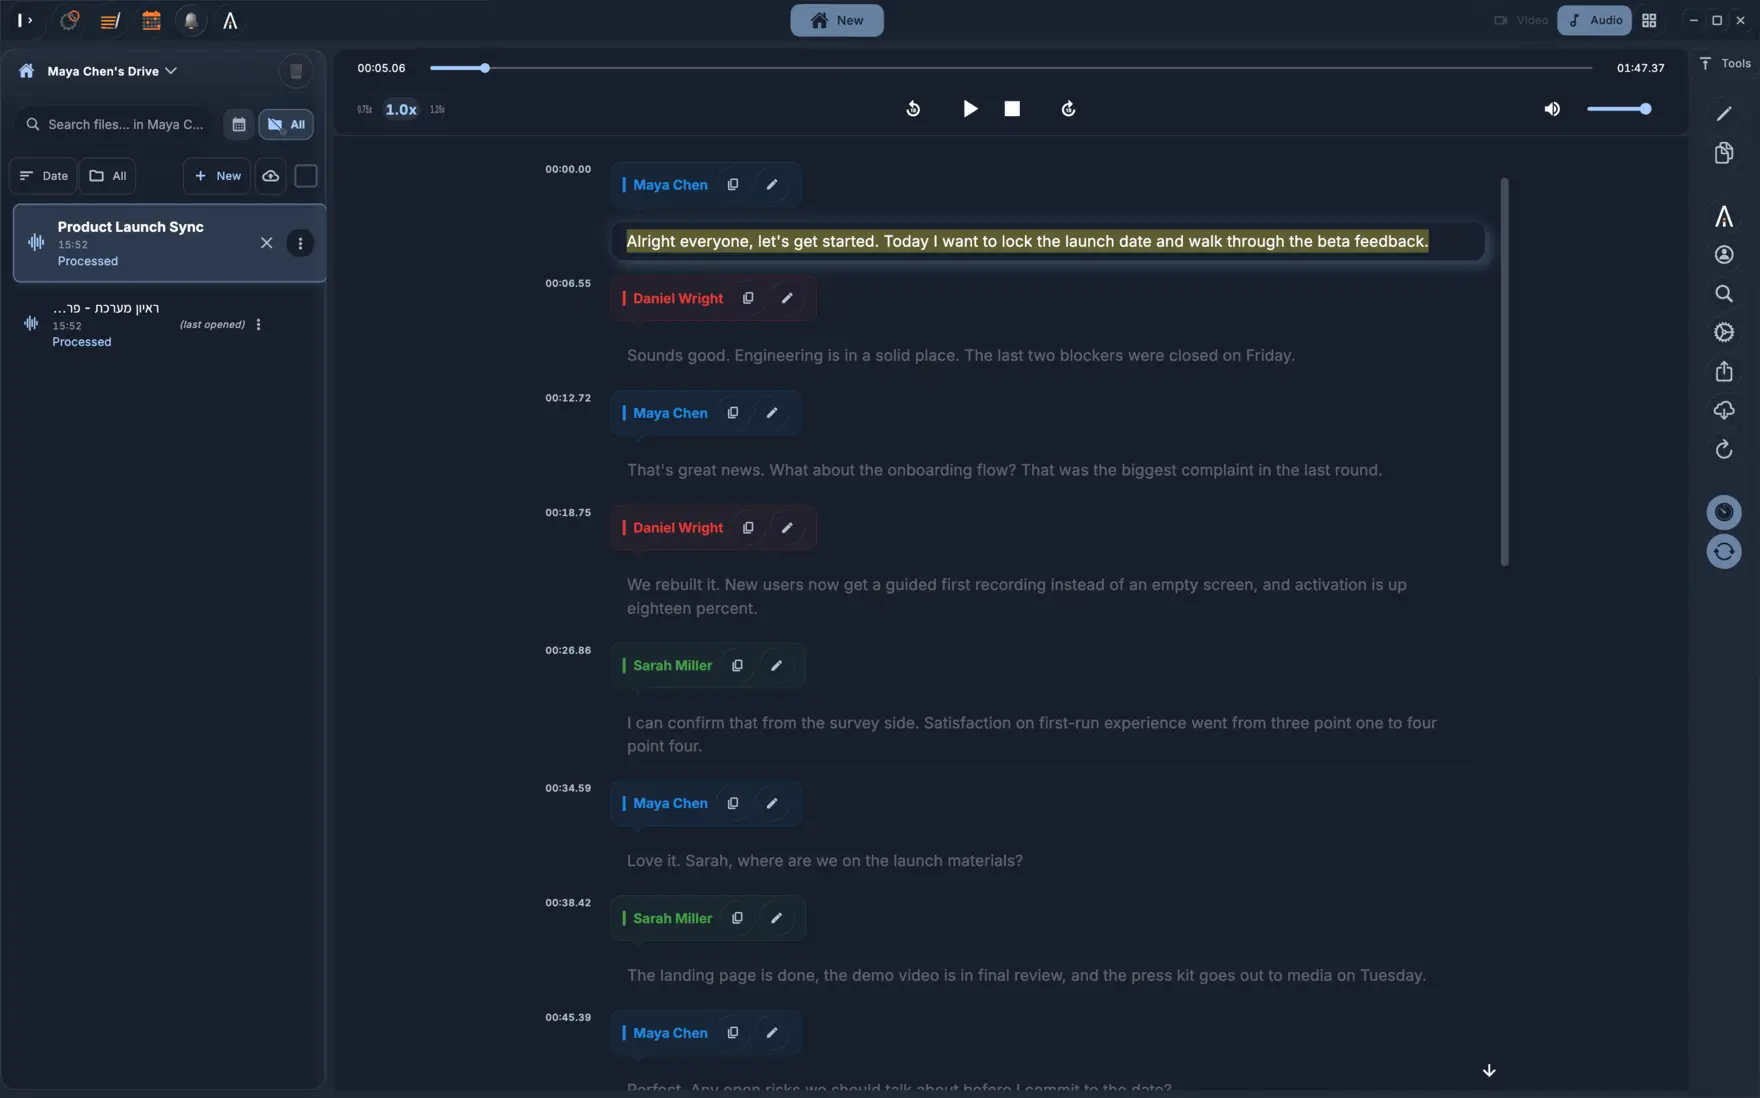
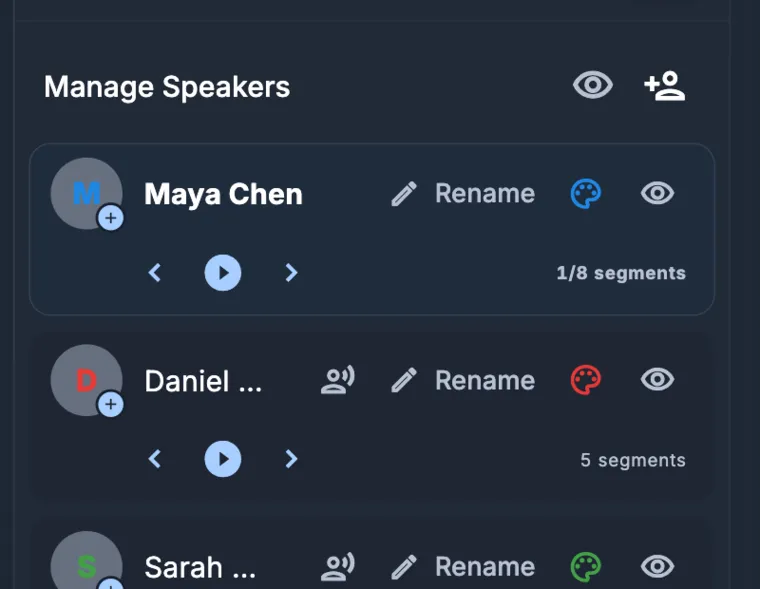
Your transcript comes back with speaker labels and a timestamp on every line. Start your review by making sure key statements are tied to the right person. When a call is recorded as a single combined audio track, quick comments and interruptions can sometimes get assigned to the wrong speaker, so look closely at those back-and-forth moments.
After that, check the names, numbers, dates, and decisions against the original audio. Automated transcription can make mistakes, and online meetings add extra problems like compressed audio, unstable connections, and people talking on mute before repeating themselves. Play the audio back at the important parts and fix the text directly instead of trusting your memory.
What can you produce from the transcript?
You can export the transcript as a DOCX or PDF for meeting minutes, grab a TXT file to paste into an email or support ticket, or download an SRT or VTT file to add subtitles to the video. You can also generate a summary or use the AI chat to ask specific questions, like who took on an action item and when it is due. Treat AI answers as a draft and check them against the actual transcript.
When you send the finished document to attendees, mention that it was made from a recording. Handle the transcript and audio files as carefully as you would any other official meeting record. If the call covered personal or confidential details, limit who can see the transcript and delete the files once you no longer need them.
Common questions
Can KolWrite join my Zoom meeting?
No. KolWrite does not send bots into your calls or offer live captions. You record the call in Zoom yourself and upload the file once it is over.
Where does Zoom save a local recording?
By default, Zoom puts local recordings inside your computer's Documents folder, in a Zoom folder with a separate subfolder for each meeting. You can also find and open them from the recordings list in the Zoom app.
Why can't I find a cloud recording?
Whether cloud recording is available depends on your account type and your organization's settings, and files take some time to process after a call wraps up. Check the recordings page on the Zoom website, or ask the host if you were not the one who started the recording.
Should I upload the video or the audio file?
Either one works. The audio-only file is smaller and uploads faster. Use the video file if you also need subtitles timed to the picture.
Does a Zoom transcript need checking?
Yes. Automated transcripts can have mistakes, so always check names, numbers, and key decisions against the audio before you share the text.