Premiere Pro
Select KolWrite to open the panel inside Premiere Pro.
Install guide KolWrite
Theme
Adobe Premiere Pro
Generate captions, cut silences, and run AI edits from a panel inside Premiere Pro on macOS and Windows.
Installs both panels
KolWrite-for-Creators-1.0.5.dmg
Installs both panels
KolWrite-for-Creators-1.0.5-Setup.exe
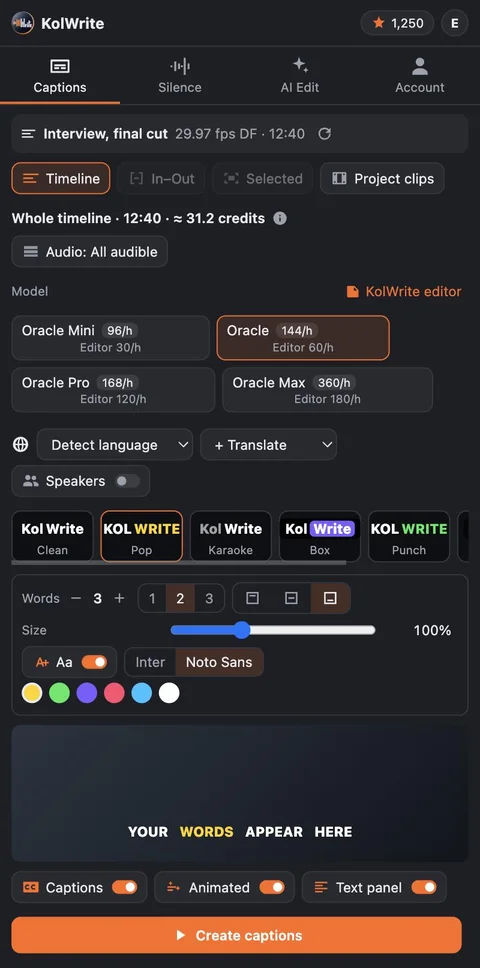
Once it's installed, restart your editor and open the panel from this menu.
Select KolWrite to open the panel inside Premiere Pro.
Install guideMenu names match the English interface. Don't see it in the menu? Restart your editor once, then check the Troubleshooting section in the guide.
There is one installer for each operating system, and it sets up the panel in every supported editor on your machine.
If double-clicking doesn't do anything, open Terminal in your downloads folder and run:
"/Library/Application Support/Adobe/Adobe Desktop Common/RemoteComponents/UPI/UnifiedPluginInstallerAgent/UnifiedPluginInstallerAgent.app/Contents/MacOS/UnifiedPluginInstallerAgent" --install KolWrite-for-Premiere-1.0.5.ccxIf double-clicking doesn't do anything, open Command Prompt in your downloads folder and run:
"C:\Program Files\Common Files\Adobe\Adobe Desktop Common\RemoteComponents\UPI\UnifiedPluginInstallerAgent\UnifiedPluginInstallerAgent.exe" /install KolWrite-for-Premiere-1.0.5.ccxPremiere Pro requires Creative Cloud Desktop to install the plugin. If you don't have it installed, the installer will let you know and only set up the other editor. Don't copy the plugin files manually, because Premiere only loads plugins registered through Creative Cloud.
You can use any KolWrite account, including a free one.
The panel matches your editor's language by default. You can switch it under Account > Panel language.
Choose from five styles with fully editable text. Before inserting them, you can set the words per caption, line count, position, size, uppercase, and highlight color.
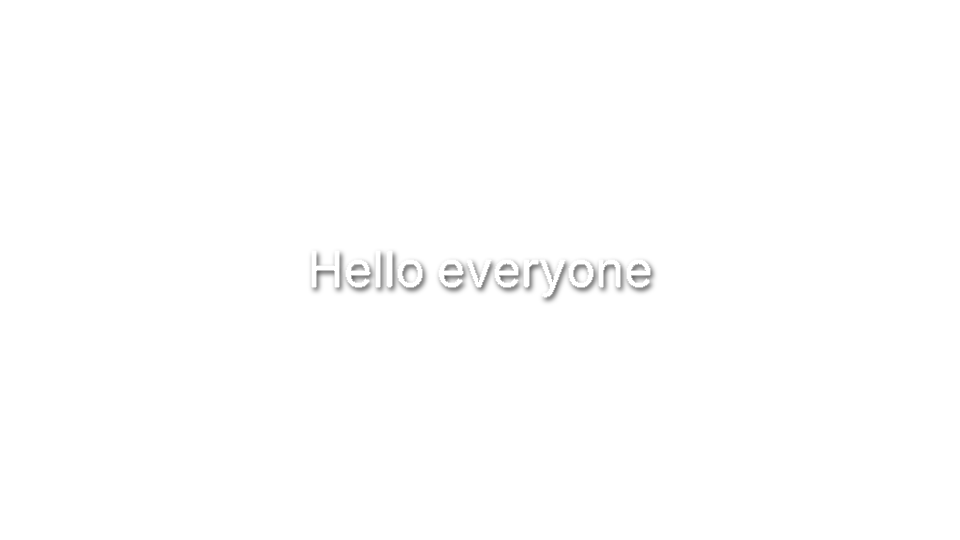




A Premiere caption track that you can edit, export, and burn in using Premiere's own tools.
Styled, word-by-word titles rendered on your computer and placed on a new video track.
The panel automatically chooses what to caption. It looks for selected clips first, then an In to Out range, and otherwise uses the whole timeline. A line in the panel tells you which one it picked.
The entire active sequence.
Only the section between the sequence In and Out marks.
Only the clips you selected on the timeline.
Full clips selected in the Project panel, with no timeline needed. Captions save to the KolWrite bin.
Use the Audio chip to pick which audio tracks to listen to, such as dialogue only. The other tracks are muted just while the audio is being prepared.
The analysis runs locally on your computer.
It sets the level automatically using the room tone and the speech. You get sliders for shortest pause, padding, and keep breaths.
A strip highlights the pauses, and a summary line shows the number of cuts and how much time they save.
This builds a new sequence from the kept parts, using your sequence name plus KolWrite Cut. Your original sequence stays untouched, and a single Undo removes the new one.
Pick a preset, add your own instructions if you want, and review the plan before the sequence is built.
Clean up, Tighten to a length, Short with a hook in the first seconds, Best takes, Chapters.
You get a list of every cut with its timestamp and reason. Uncheck any cut to keep that part in.
Builds a new sequence with chapter markers and optional punch-in zooms on key moments.
AI edits spend AI credits based on the tokens used. Creator pricing
Most issues have a quick fix.
Restart Premiere Pro. Make sure you are on version 25.6 or newer, and update if needed. Then reinstall the .ccx file through Creative Cloud Desktop. If the plugin disappears after a Premiere update, just install it again.
Close the panel and reopen it from Window > UXP Plugins > KolWrite. If it is still blank, update Premiere Pro to the latest release.
Every Premiere panel floats the first time you open it. Drag the KolWrite tab into any panel group, like next to Effects, and save your workspace. Premiere will open it docked from then on.
Click Open browser again and check that the code in your browser matches the one in the panel. You can also sign in with your email and password. Make sure your network allows access to api-prod.kolwrite.com and Google sign-in.
Make sure your audio tracks aren't muted and your media is online. Use the Audio chip to select the dialogue tracks. Offline clips come through as silence, and the panel will list their names.
Go to Account > Advanced and select a Waveform Audio export preset. The panel only uses this while preparing the audio.
The panel checks the audio length against the timeline and stops if they don't match, which prevents drifting captions. Check your timeline for offline media and try again.
Find the SRT file named in the panel inside the KolWrite bin, and drag it onto your timeline. Premiere will create the caption track from there.
Animated captions and the Text panel render properly on their own. If you use Premiere's native caption track, go to Settings > Graphics > Text engine and choose South Asian and Middle Eastern.
The panel shows a cost estimate upfront and won't start a job if you don't have enough credits to finish it. Click Get credits in the Account tab, or switch to a cheaper model.
Close the panel and reopen it. Your job will continue and give you the option to Resume or Insert. You won't be charged for an upload that did not finish.
Canceling is free up until the audio reaches KolWrite. Once it arrives, the job is charged in full. The panel shows the exact credit cost before you confirm stopping.
Save the project once. Until you do, caption files stay in the panel's own folder.
Premiere Pro is installed through Creative Cloud Desktop. Install Creative Cloud Desktop and sign in, then run the KolWrite installer again. You can also use the .ccx file under Other downloads.
Captions already in your sequences stay there, and files in your KolWrite bin remain in the project.
Workspace > Workflow Integrations or Scripts · Editable subtitles right on your open timeline · macOS, Windows, and Linux
Adobe and Premiere Pro are trademarks of Adobe. DaVinci Resolve is a trademark of Blackmagic Design. KolWrite is an independent product and is not affiliated with or endorsed by either company.